I've made like 3 attempts to paint the hood with the brush... and i must accept the fact that you can't use paintbrush (except you're a master of it) to paint big areas.
My last attempt was not that bad (it was a first layer very thin), but as i begin to have more kits on my stash, i will move on airbrush for those kind of jobs.
So, in the meantime, i have worked on the interior, panel doors (silver lining) and dashboard (decals+red needle). I have not so much details planned to do, gloss on tachometers, small black adjustements here and there, as i want to keep it simple for a first car. Seats, engine and suspension will be next!
ddddd
lundi 30 juin 2014
lundi 23 juin 2014
Mustang Part 14 - Pipes
Little update, mainly focused on exhaust pipes, first with aluminium, then weathering in blue and rust.
Gas tank done :
Chromes parts cleaned out, gas tank top painted in black as in the true bullit fashion :
Gas tank done :
Chromes parts cleaned out, gas tank top painted in black as in the true bullit fashion :
dimanche 15 juin 2014
Mustang Part 13 - Black painting
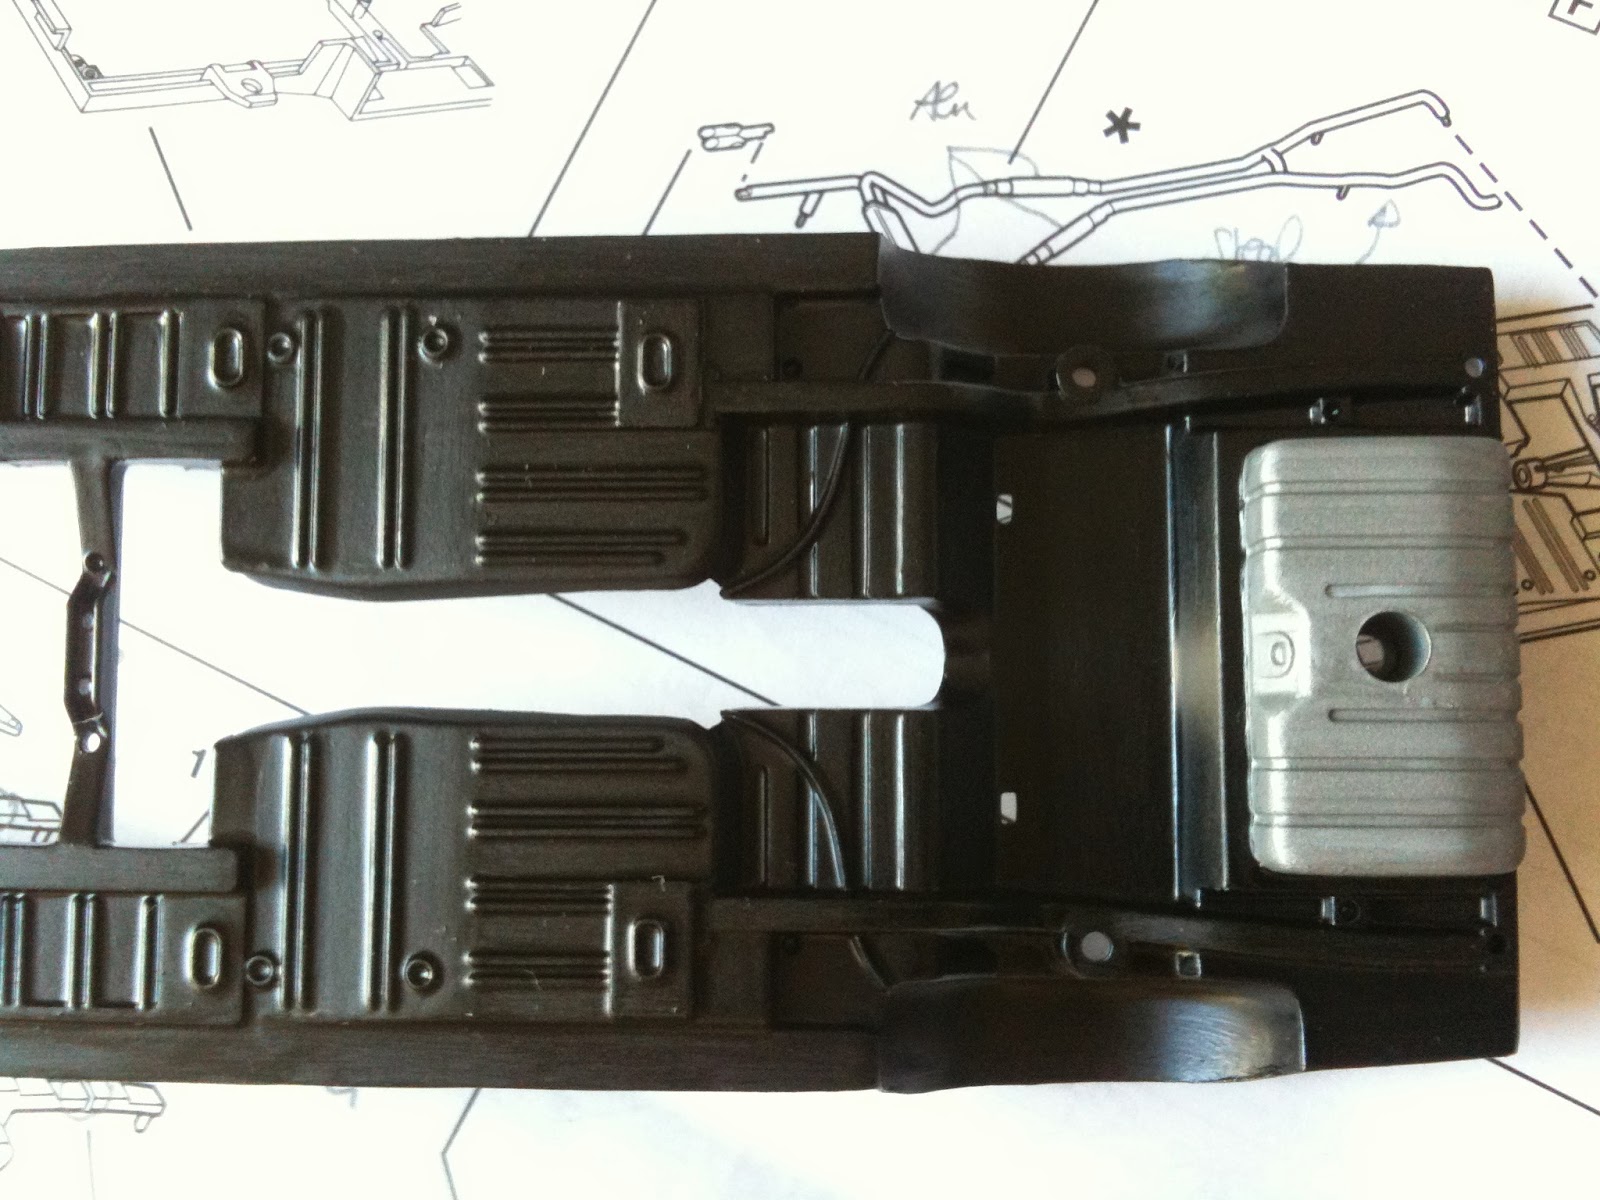
After the issue of my semi gloss black paint, i re-do the corresponding parts, then adding aluminium to the rear suspension.
I prepped the body, removing flash, seams lines and so on, and wet sanding it entirely with 1000 sand paper.
Chassis and interior is painted.
Painting the wheels :
I prepped the body, removing flash, seams lines and so on, and wet sanding it entirely with 1000 sand paper.
Chassis and interior is painted.
lundi 9 juin 2014
Mustang Part 12 - Paint
After having worked on the interior, i switched to paint getting some good results and issues. Coming back to the hobby after so many years, for now, i stick to brush painting despite that i know that the finish result will be much less better than airbrush. I prefer to go slowly and work on the basics.
Anyway, let's go on.
I find out that i had an issue with semi gloss black paint... very grainy result...
Well, i was using a very old revell enamel (more than 15 years old) which seems to be throw it away now. I sanded off the part and i have to get a new paint.
Trying to paint the hood, we can see the brush marks... I used a brand new brush, but I have really to improve myself for this. My plan is to wet sand with 1000, and 2000, have another coat, wet sand again, then clear coat.
Meanwhile, i'm testing the chassis/body integration. It seems to be ok, even if it's not really easy to put them together as designed originally by the kit.
vendredi 6 juin 2014
Inscription à :
Commentaires (Atom)


