jeudi 27 mars 2014

Awing Part 12 - Body masking

I was waiting to receive my furnitures from Tamiya to follow on.
Before using masking tape on the body for the black parts, i sanded the are where i apply putty. There is still seams and may be i will make another round of putty.
Tamiya masking tape is pretty easy to be used. I choose to do it for the main black parts first.
I did apply another layer of green on the pilot.


mercredi 26 mars 2014

Awing Part 11 - Rewiring & Body assembly

After letting dry the flat black paint, i wanted to make another test with wires to be pass through the support, and i saw that there will not be possible.
The solution was to change the wiring to make it simplier with only 2 wires to get out of the model.
A test of the new config is OK!
After this, i was able to put together the back, bottom and top of the ship with cement. I apply putty to make the delimitation smoother. I'm not at ease for the moment with putty, it dries to quick and not easy to apply. I read that other technics as using glue can be done, but i'm not sure if the paint will be good on top of it.
The pilot receives his green jacket. I'm going to do it simple : green jacket, black gloves and boots, grey and white helmet (no head details on contrary of the real pilot).


mercredi 19 mars 2014

Awing Part 10 - Inside blackened

So yesterday, i painted in flat black the inside of the body.
The picture shows how is it difficult to apply enamel brush paint on large surface, i'm not satisfied with the current result, when looking at it, it shows brush traces and so on. I thought by applying a large coat of paint ending with better result, but this is the contrary, less is best.
Anyway, i'll wait it cure to see how it gets, but ultimately it doesn't matter, as is it not visible from an external point of view. It just give a black background for the cockpit.
I receive my acrylic paint set, so i'll be able to paint this little guy. The reference Awing pilot has a green outfit but a totally different helmet which doesn't cover the face. 


lundi 17 mars 2014

Awing Part 9 - Cockpit test paint & Missiles masking

All the parts from the rear assembly are now done and cemented.
It looks nice and ready to be painted.
About paint, i tested to use "patafix" as a masking tool, this is a big failure. It doesn't leave delimited lines and it's too sticky. Conclusion : paint to be withdrawn and my order for Tamiya masking tapes is in progress.
I've worked on the missile launchers, it was a little difficult to have the proper plastic shape. It's not perfect, if you look at it from on the side, there is a gap on top, i will see if i can do something with putty. Anyway, i'll have to paint the ship interior in flat black so this will be not so visible. I have also sanded the support plastic hole in order to give it more space for the wiring
Another task was to fill the landing gear holes as i will not use it.


jeudi 13 mars 2014

Awing Part 8 - More soldering

I've done another session of soldering LED with extension of the cable to run through the body of the kit and the support.
I could have anticipated the lenght of cable on first hand previously but i have rather a step by step approach as this is the first time i go into this direction.
I've also made kind of testing, which is reassuring, it works!
But it was really difficult to put it together, and i see some areas where i will have really big troubles to do it nicely.
First area, is the building of the back subassembly to the body, it doesn't fit well at all!
It supposed to be an easy kit, but there are lots of spaces.
Another troublemaker is the bottom area below the cockpit, it's very tiny. I wanted to add a floor but there are very little space to pass all the wires down through the main support.
Another option would be to make less wiring with parallel wiring for LED inside the body.
Anyway, i feel that i've quiet a long path ahead to fit it all together!


mercredi 12 mars 2014

Awing Part 7 - Propulsor assembly

Main propulsors have been cemented with the LED inside.

Afterwards, i've put putty in the seams.
And i'm starting to scratchbuild the proper stand to let pass the wires to the the model.

For the moment, it's a piece of a pen which i plan to paint it flat black.
I don't think i will add the landing gear to the model, as it supposed to "flight".

I'm not planning to respect the instruction manual of this kit, as i will put together upper body and lower body before the rear subassembly.

I've read a lot about washes, detailing painting, and ordered some acrylic paint. This is the best option not to use same base painting (enamel vs acrylic), it allows to withdraw the additional paint without destroying the base paint.

Also, i've spent many time to watch videos for the paint/coat/polish of model cars. Some guys are crazy about that, but results are incredible.
As for me, my initial plan will be to use green enamel, light sanding, another round of paint, light sanding, coat and may be polish. 


dimanche 9 mars 2014

Awing Part 6 - Thrusters assembly

I've been working on the back of the awing.
First, some putty to fill the holes (not a great job), then i added the thrusters.

I've began to put masking on canopy to paint it black later on.

And soldering the LED.


dimanche 2 mars 2014

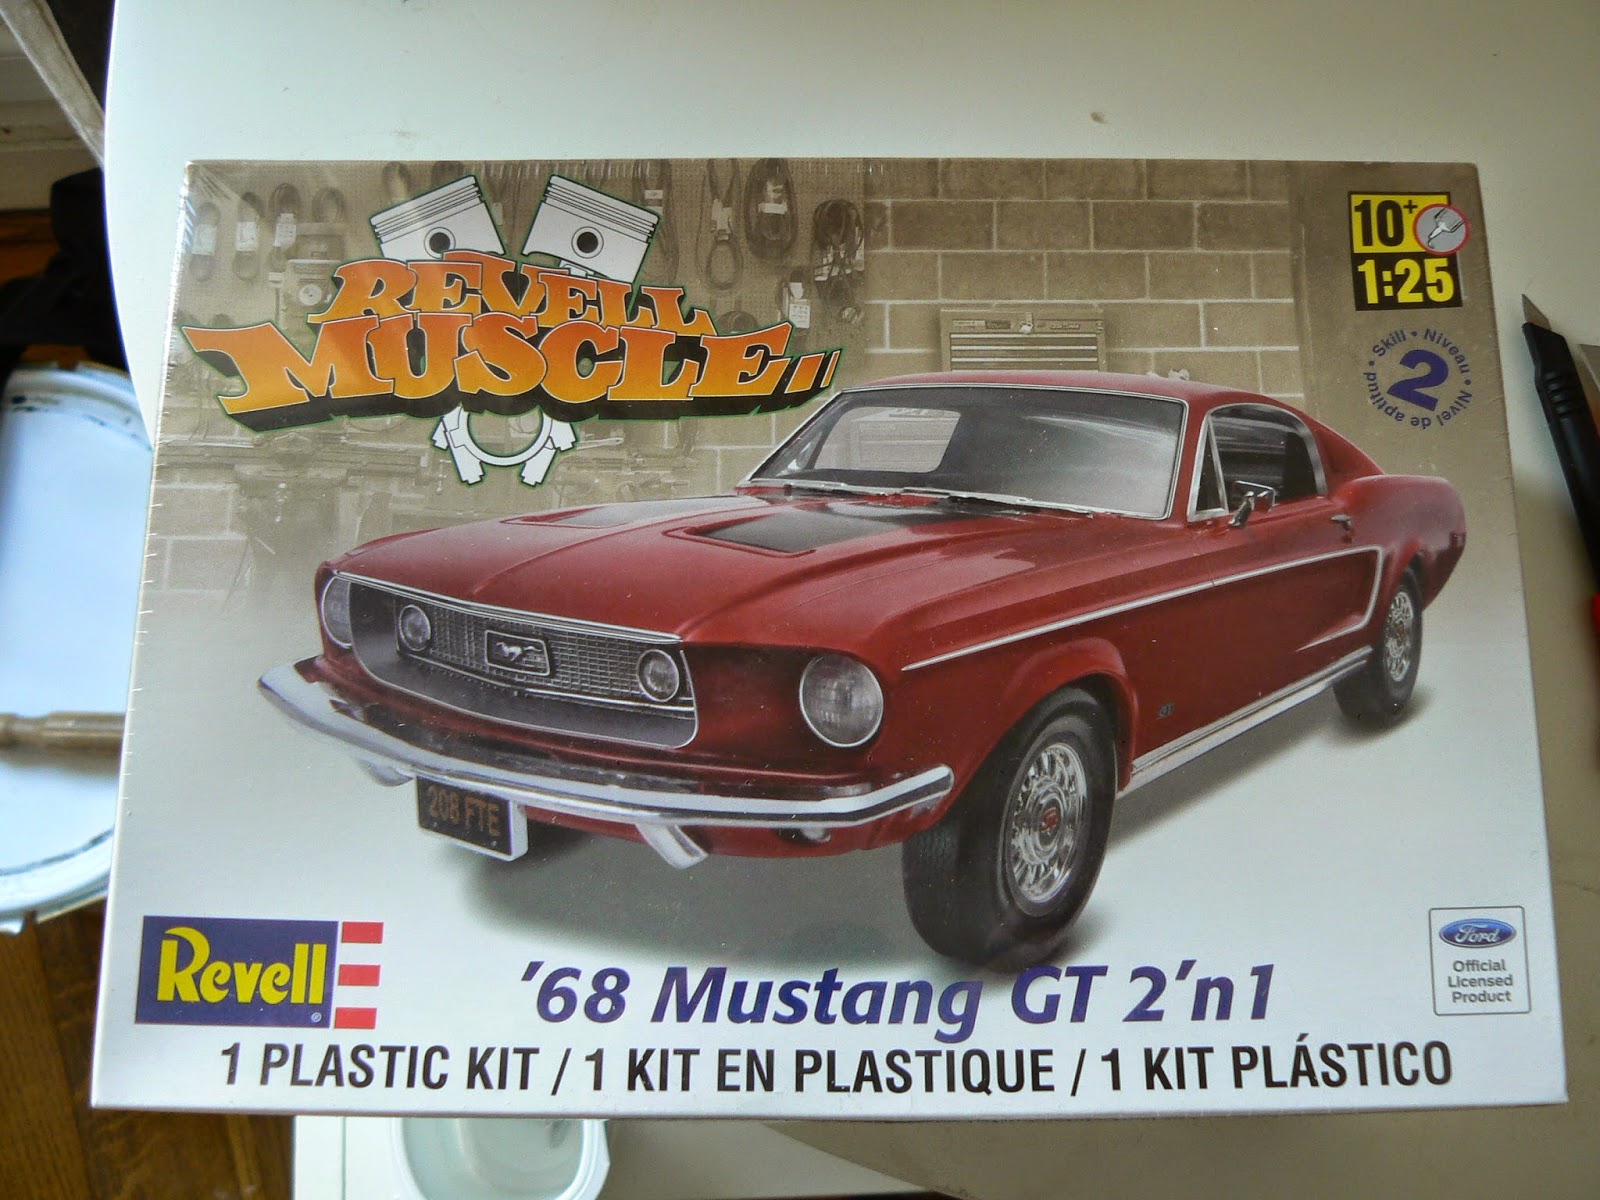
Mustang Part 1 - Bullitt Out of box review

Here is my next project after the Awing. The famous Mustang Bullitt from the king of cool Mr MacQueen. I want to make a kit without all the scratchbuilding of the Awing, just to make it straightforward, and spend may be some time on the wiring of the motor.
The car was featured in one of the best movie car pursuit against a black Dodge Challenger.

I pick up the Revell Mustang 68 fastback kit 2 in 1 which is basically the same car of the official kit.
The fastback line is really beautiful car design and a great iconic muscle car. Motor is a 390 with plenty of horsepower.
The kit is good quality with around 80/90 parts.
The assembly won't be too difficult, i think most of the work will be the paint which i'll still use paintbrush.


Awing Part 5 - Cockpit filling

A small update this time. 
On the cockpit, there are two small holes which are normally used to insert the transparent canopy. I filled them with two small plastic pieces.

There was an area where i wanted to make improvements, on each side there are holes for the side blaster axle. Unfortunately i tried to make appropriate plastic piece to enhance it properly without too many spaces, but i gave up.

There is also another area where i feel that i can't make it, it's the missile launchers. Still trying to figure out how to make the assembly of the kit with LED...